
When it comes to pet care, many dog owners often overlook one of the most critical aspects—ear cleaning. Regular ear cleaning can prevent infections, detect potential issues early, and ensure your furry friend’s overall health and well-being. However, ear cleaning can be a daunting task if you are not well-informed. This comprehensive guide aims to cover everything you need to know, including top expert tips for effective and safe dog ear cleaning.
Why Ear Cleaning is Essential for Your Dog
Before diving into expert tips, it’s vital to understand why ear cleaning should be part of your dog’s regular grooming routine. Like humans, dogs are susceptible to ear infections caused by bacteria, yeast, or mites. Regular cleaning helps to:
- Prevent Infections: Removes dirt, wax, and other debris that can cause infections.
- Detect Problems Early: Allows you to identify signs of infections or other ear issues, such as lumps or parasites.
- Maintain Overall Health: Ensures your dog remains comfortable and healthy, contributing to their overall well-being.
Top 10 Expert Tips for Effective and Safe Dog Ear Cleaning
1. Understand Your Dog’s Ear Structure
Before you start cleaning, familiarize yourself with your dog’s ear anatomy. Dogs have L-shaped ear canals, which means dirt and debris can get trapped more easily. Knowing this will help you understand how to effectively clean without causing discomfort.
2. Gather the Right Supplies
Having the right supplies can make the ear-cleaning process smoother:
- Cotton Balls: Soft and absorbent for wiping ears.
- Q-Tips: For use only on the outer ear; never insert deep into the ear canal.
- Ear Cleaning Solution: Opt for a vet-approved solution designed for dogs.
- Treats: To reward your pup and make the process more pleasant.
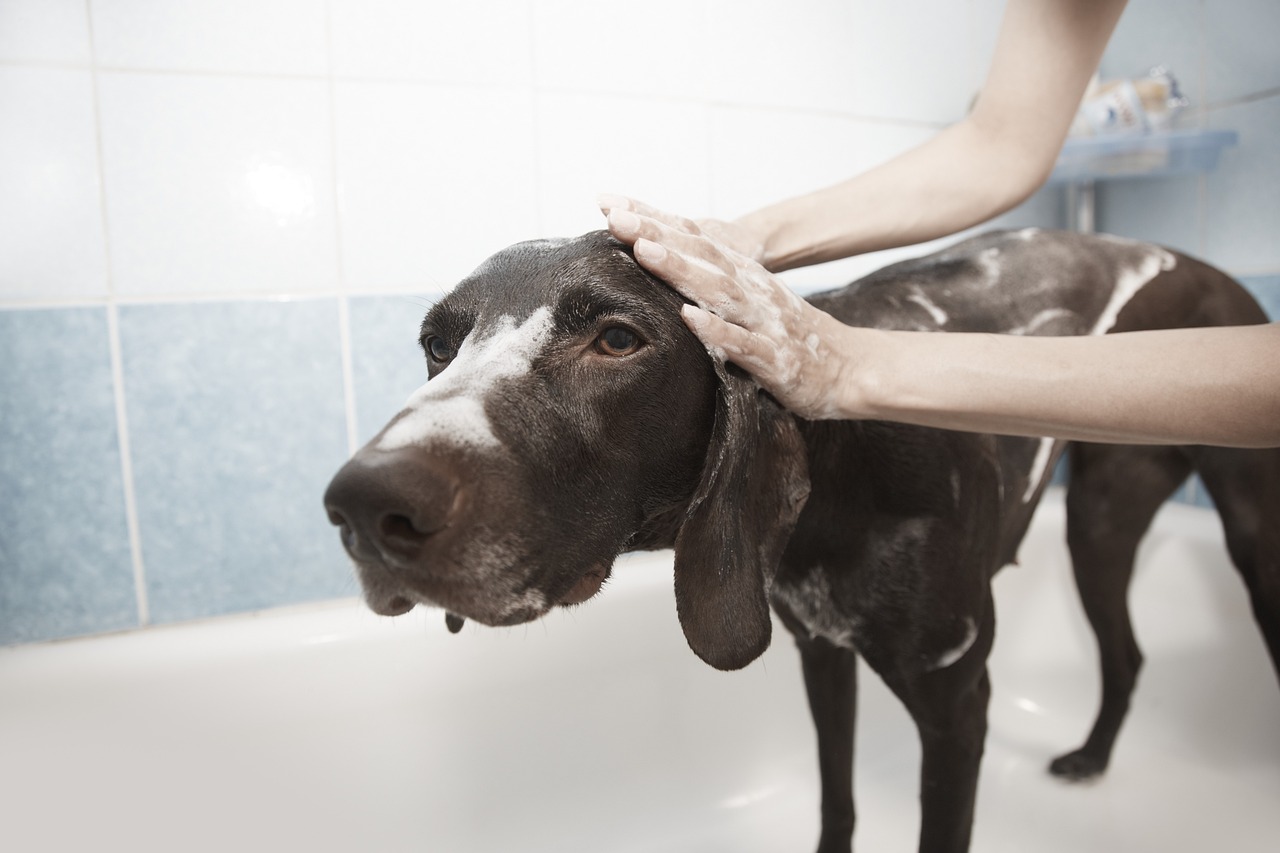
3. Make it a Positive Experience
Associate ear cleaning with a positive experience to reduce anxiety for your dog. Use treats and praise to keep your dog calm:
- Start by petting your dog’s head and ears.
- Give a treat to create a positive association.
- Proceed with gentle examination and cleaning.
4. Examine the Ears First
Before applying any cleaning solution, do a thorough visual examination of your dog’s ears:
- Look for redness, swelling, or unusual discharge.
- Sniff the ears; a foul odor may indicate an infection.
- Check for signs of mites, such as dark-colored debris.
5. Apply the Cleaning Solution Correctly
Follow these steps to properly apply the ear cleaning solution:
- Hold up the ear flap to expose the ear canal.
- Pour the solution into the ear canal as per the instructions.
- Massage the base of the ear to distribute the solution.
6. Use the Right Technique for Drying
After applying the cleaning solution, dry the ears properly to prevent moisture build-up, which can lead to infections:
- Use a dry cotton ball to gently wipe out the excess solution.
- Avoid using Q-Tips deep in the ear canal to prevent injury.
7. Understand When Not to Clean
There are times when ear cleaning could do more harm than good. If you notice the following symptoms, consult a vet:
- Excessive scratching or head shaking
- Visible pain or discomfort when you touch the ears
- Persistent foul odor or discharge
8. Be Gentle and Patient
Dogs are sensitive creatures, especially when it comes to their ears. Always be gentle:
- Never force your dog if they are scared.
- Use a soft voice to calm them down.
- Take breaks if your dog seems stressed.
9. Regular Scheduling
Consistency is key in maintaining ear hygiene. Depending on your dog’s breed and lifestyle, schedule regular ear cleaning sessions. For dogs prone to ear infections, weekly cleaning may be necessary, while others might need it bi-weekly or monthly.
10. Know When to Seek Professional Help
Despite your best efforts, sometimes professional help is needed. Regular vet check-ups can catch issues early and your veterinarian can perform a deep clean if necessary. If you notice persistent issues despite regular cleaning, see your vet.
Common Mistakes to Avoid
While the tips above provide a roadmap to effective ear cleaning, there are common mistakes that dog owners should avoid:
- Over-cleaning: Can irritate the ear canal and strip away necessary oils.
- Using inappropriate solutions: Avoid home remedies like vinegar or alcohol, which can be harmful.
- Skipping regular check-ups: Regular vet visits can catch and treat issues early before they become more serious.
Checklist for a Quick Reference
- Understand your dog’s ear structure.
- Gather the necessary supplies.
- Ensure a positive and stress-free experience.
- Examine the ears before cleaning.
- Apply the cleaning solution correctly.
- Dry the ears properly.
- Be cautious and avoid cleaning if there are signs of infection.
- Be gentle and patient throughout the process.
- Stick to a regular ear-cleaning schedule.
- Consult a veterinarian for persistent issues.
Conclusion
Taking the time to clean your dog’s ears can significantly contribute to their overall health and happiness. By following these expert tips, you can ensure that the ear-cleaning process is effective, safe, and stress-free for both you and your furry friend. Remember that persistence and gentleness go a long way in making ear cleaning a positive experience. Always keep an eye out for any signs that may require professional veterinary attention, and you’ll be on your way to maintaining a healthy and happy pup.
#ChatGPT assisted in the creation of this article.
