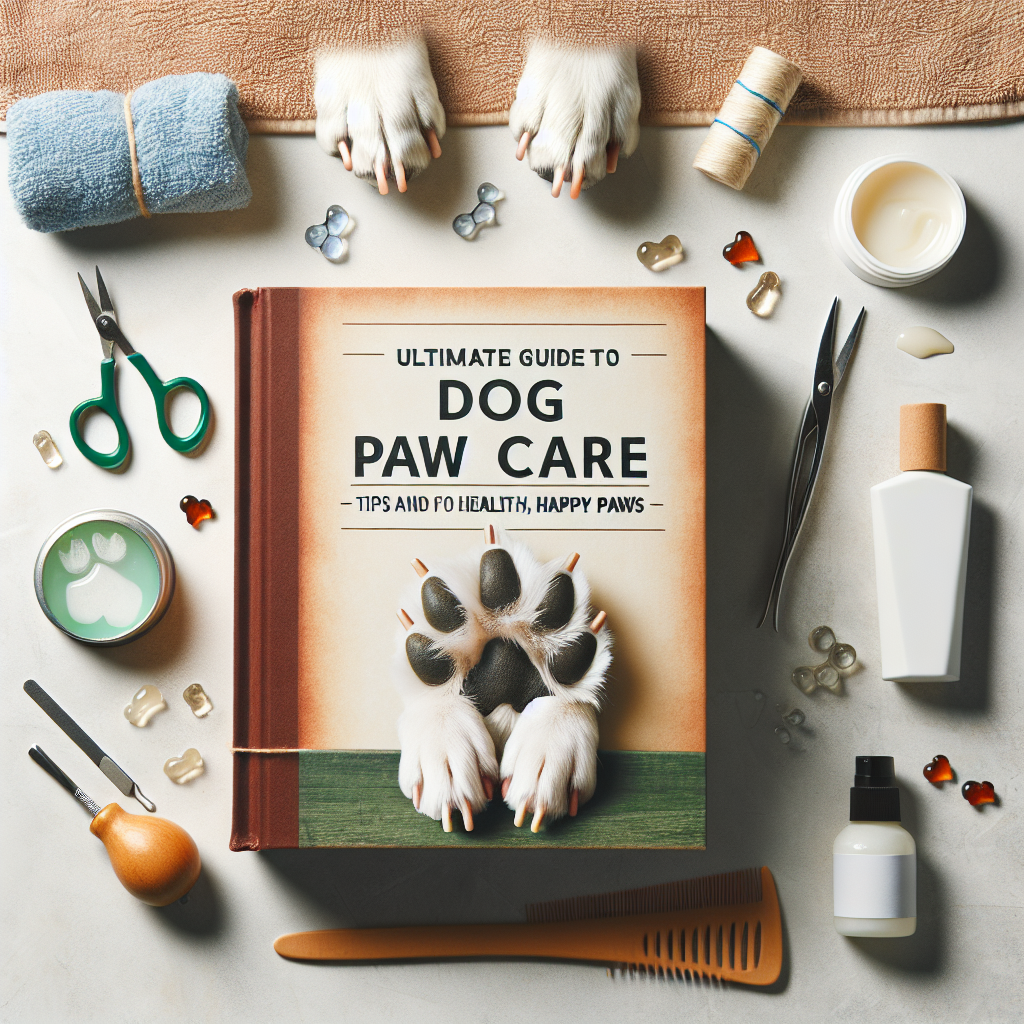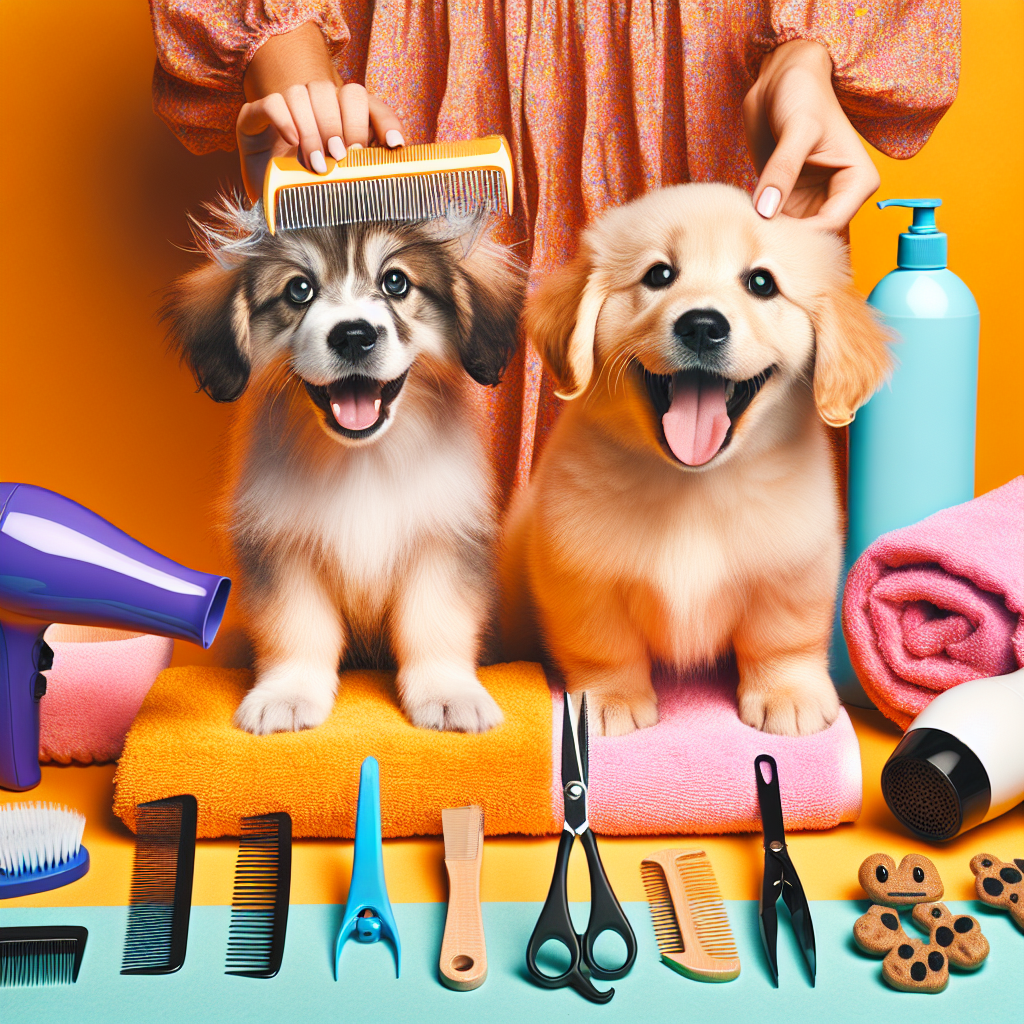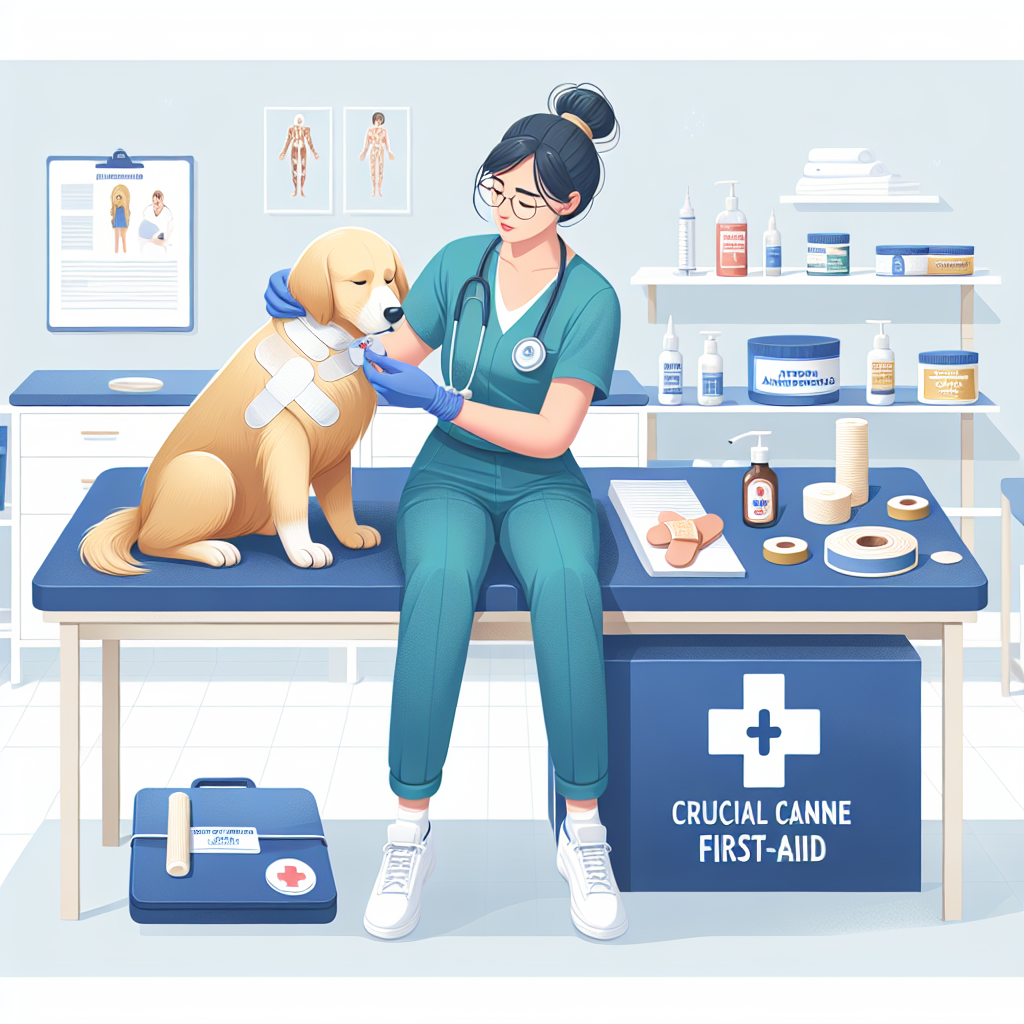
Dog nail trimming is an essential component of responsible pet ownership. While it can seem daunting for many pet parents, mastering this skill can significantly enhance your dog’s overall health and wellbeing. This comprehensive guide breaks down expert tips and techniques to ensure that the process becomes safe, efficient, and stress-free. Read on to transform nail trimming from a dreaded task into a seamless grooming routine.
Table of Contents
-
- Understanding the Importance of Nail Trimming
-
- Choosing the Right Tools
-
- Familiarizing Your Dog with the Equipment
-
- Selecting an Optimal Time for Trimming
-
- Proper Handling Techniques
-
- Identifying the Quick
-
- Step-by-Step Nail Trimming Process
-
- Addressing Common Challenges and Solutions
-
- Positive Reinforcement and Reward System
-
- Seeking Professional Help When Necessary
-
- Conclusion
1. Understanding the Importance of Nail Trimming
Keeping your dog’s nails trimmed isn’t just about aesthetics. Overgrown nails can cause several issues, such as:
-
- Pain and Discomfort: Longer nails can curl and dig into the paw pad, inflicting pain.
-
- Impaired Mobility: Dogs with long nails may exhibit altered gait patterns, leading to joint stress and mobility issues.
-
- Infection Risk: Ingrown nails can cause infections and other complications.
By maintaining a regular nail trimming schedule, you can prevent these potential issues and ensure your dog remains comfortable and healthy.
2. Choosing the Right Tools
Investing in the right tools is pivotal for a hassle-free grooming experience. Here are your primary options:
Types of Nail Clippers
-
- Guillotine Clippers: Suitable for smaller dogs, these clippers consist of a hole where you place the nail, which is then sliced by a retractable blade.
-
- Scissor Clippers: Ideal for larger dogs, especially those with thicker nails. They resemble standard scissors but are designed to cut through tougher nails.
Nail Grinders
Nail grinders or Dremel tools are rotary tools that file down the nail rather than cutting it. They are beneficial for smoothing out rough edges and are often considered less intimidating for both the dog and the owner.
Styptic Powder
Always have styptic powder on hand to stop bleeding if you accidentally cut into the quick (the sensitive part within the nail that contains blood vessels and nerves).
3. Familiarizing Your Dog with the Equipment
Before you start trimming, it’s essential to desensitize your dog to the tools. Here are steps to engage your dog with the nail trimmers or grinder:
-
- Hold the Clippers/Groomer Near Them: Let your dog sniff the equipment and get used to its presence.
-
- Use Treats: Associate positive experiences with the grooming tools.
-
- Gradual Introduction: Gradually introduce the sound and sensation of the grinder or clippers to your dog without actually trimming.
This process helps to reduce anxiety and builds a foundation of trust.
4. Selecting an Optimal Time for Trimming
Successful nail trimming often depends on choosing the right moment. Here are some tips:
-
- After Exercise: Dogs are typically more relaxed after a long walk or play session.
-
- During Calm Periods: Choose a time when your dog is naturally calm, such as after a meal.
-
- Positive Environment: Ensure the environment is quiet and free from distractions.
5. Proper Handling Techniques
Correct handling is crucial for safety and comfort:
-
- Secure Grip: Hold your dog’s paw firmly, but not too tightly.
-
- Support the Foot: Gently support the canine’s foot to prevent sudden movements.
-
- Comfortable Positioning: Position yourself and the dog comfortably, ensuring neither feels restrained or uncomfortable.
6. Identifying the Quick
The quick is a sensitive area within the nail containing blood vessels and nerves. Trimming past this point causes pain and bleeding.
-
- Light-Colored Nails: The quick is usually visible as a pink area within the nail.
-
- Dark-Colored Nails: Shine a flashlight behind the nail to locate the quick, or trim small amounts gradually to avoid cutting into it.
7. Step-by-Step Nail Trimming Process
Follow this detailed step-by-step guide to ensure a smooth and efficient nail-trimming session:
Step 1: Gather Supplies
Collect clippers or grinders, styptic powder, treats, and a towel.
Step 2: Inspect the Paws
Check for any signs of injury, debris, or abnormalities in the paws and nails.
Step 3: Start Trimming
For Clippers:
-
- Align the Clipper: Position the clippers perpendicularly to the nail.
-
- Small Increments: Trim in small increments to avoid cutting the quick.
-
- Steady Pressure: Apply steady pressure to make a clean cut.
For Grinders:
-
- Expose the Nail: Gently file down the nail, applying minimal pressure.
-
- Smooth Edges: Move the grinder over the edges to smooth them.
Step 4: Monitor Your Dog’s Behavior
Pause if your dog shows signs of stress or discomfort, provide reassurance and treats.
Step 5: Check for Bleeding
If you accidentally cut the quick, quickly apply styptic powder to stop the bleeding.
Step 6: Praise and Reward
Give your dog a treat and lots of praise after each nail, reinforcing positive behavior.
Step 7: Repeat
Continue until all nails are trimmed. Remember to check the dewclaws, which may require trimming despite being hidden by fur.
8. Addressing Common Challenges and Solutions
Fear and Anxiety
Fear and anxiety can be significant obstacles:
-
- Training and Desensitization: Gradual exposure and positive reinforcement improve comfort levels.
-
- Professional Trainers: Seeking help from a dog trainer can provide techniques tailored to your dog’s specific needs.
Wiggling and Resistance
Dogs might resist by pulling away:
-
- Assistant: Have another person help to hold and comfort your dog.
-
- Gentle Restraint: Use a gentle yet secure hold without causing any distress.
Overgrown Nails
When nails are significantly overgrown, the quick might extend further than usual:
-
- Frequent Trimming: Trim small amounts more frequently to encourage the quick to recede over time.
9. Positive Reinforcement and Reward System
Positive reinforcement is key to fostering a cooperative attitude toward nail trimming:
-
- High-Value Treats: Use treats that your dog finds particularly irresistible.
-
- Consistent Praise: Continuously praise your dog throughout the process.
-
- Play Sessions: Follow up with a play session or a favored activity post-trimming to associate nail grooming with fun.
10. Seeking Professional Help When Necessary
Despite your best efforts, some dogs may still struggle with nail trimming. In such cases:
-
- Professional Groomers: They have the experience and tools to handle difficult cases.
-
- Veterinarians: For dogs with medical conditions or severe anxiety, veterinarians can provide assistance, including sedatives if necessary.
Conclusion
With the right approach and tools, dog nail trimming can become a manageable aspect of your grooming routine. By understanding the importance of regular trims, choosing the proper equipment, familiarizing your pet with the process, and employing effective handling techniques, you can ensure a safe and stress-free experience for both you and your dog. Always remain patient, and don’t hesitate to seek professional help if needed. Happy trimming!
#ChatGPT assisted in the creation of this article.
